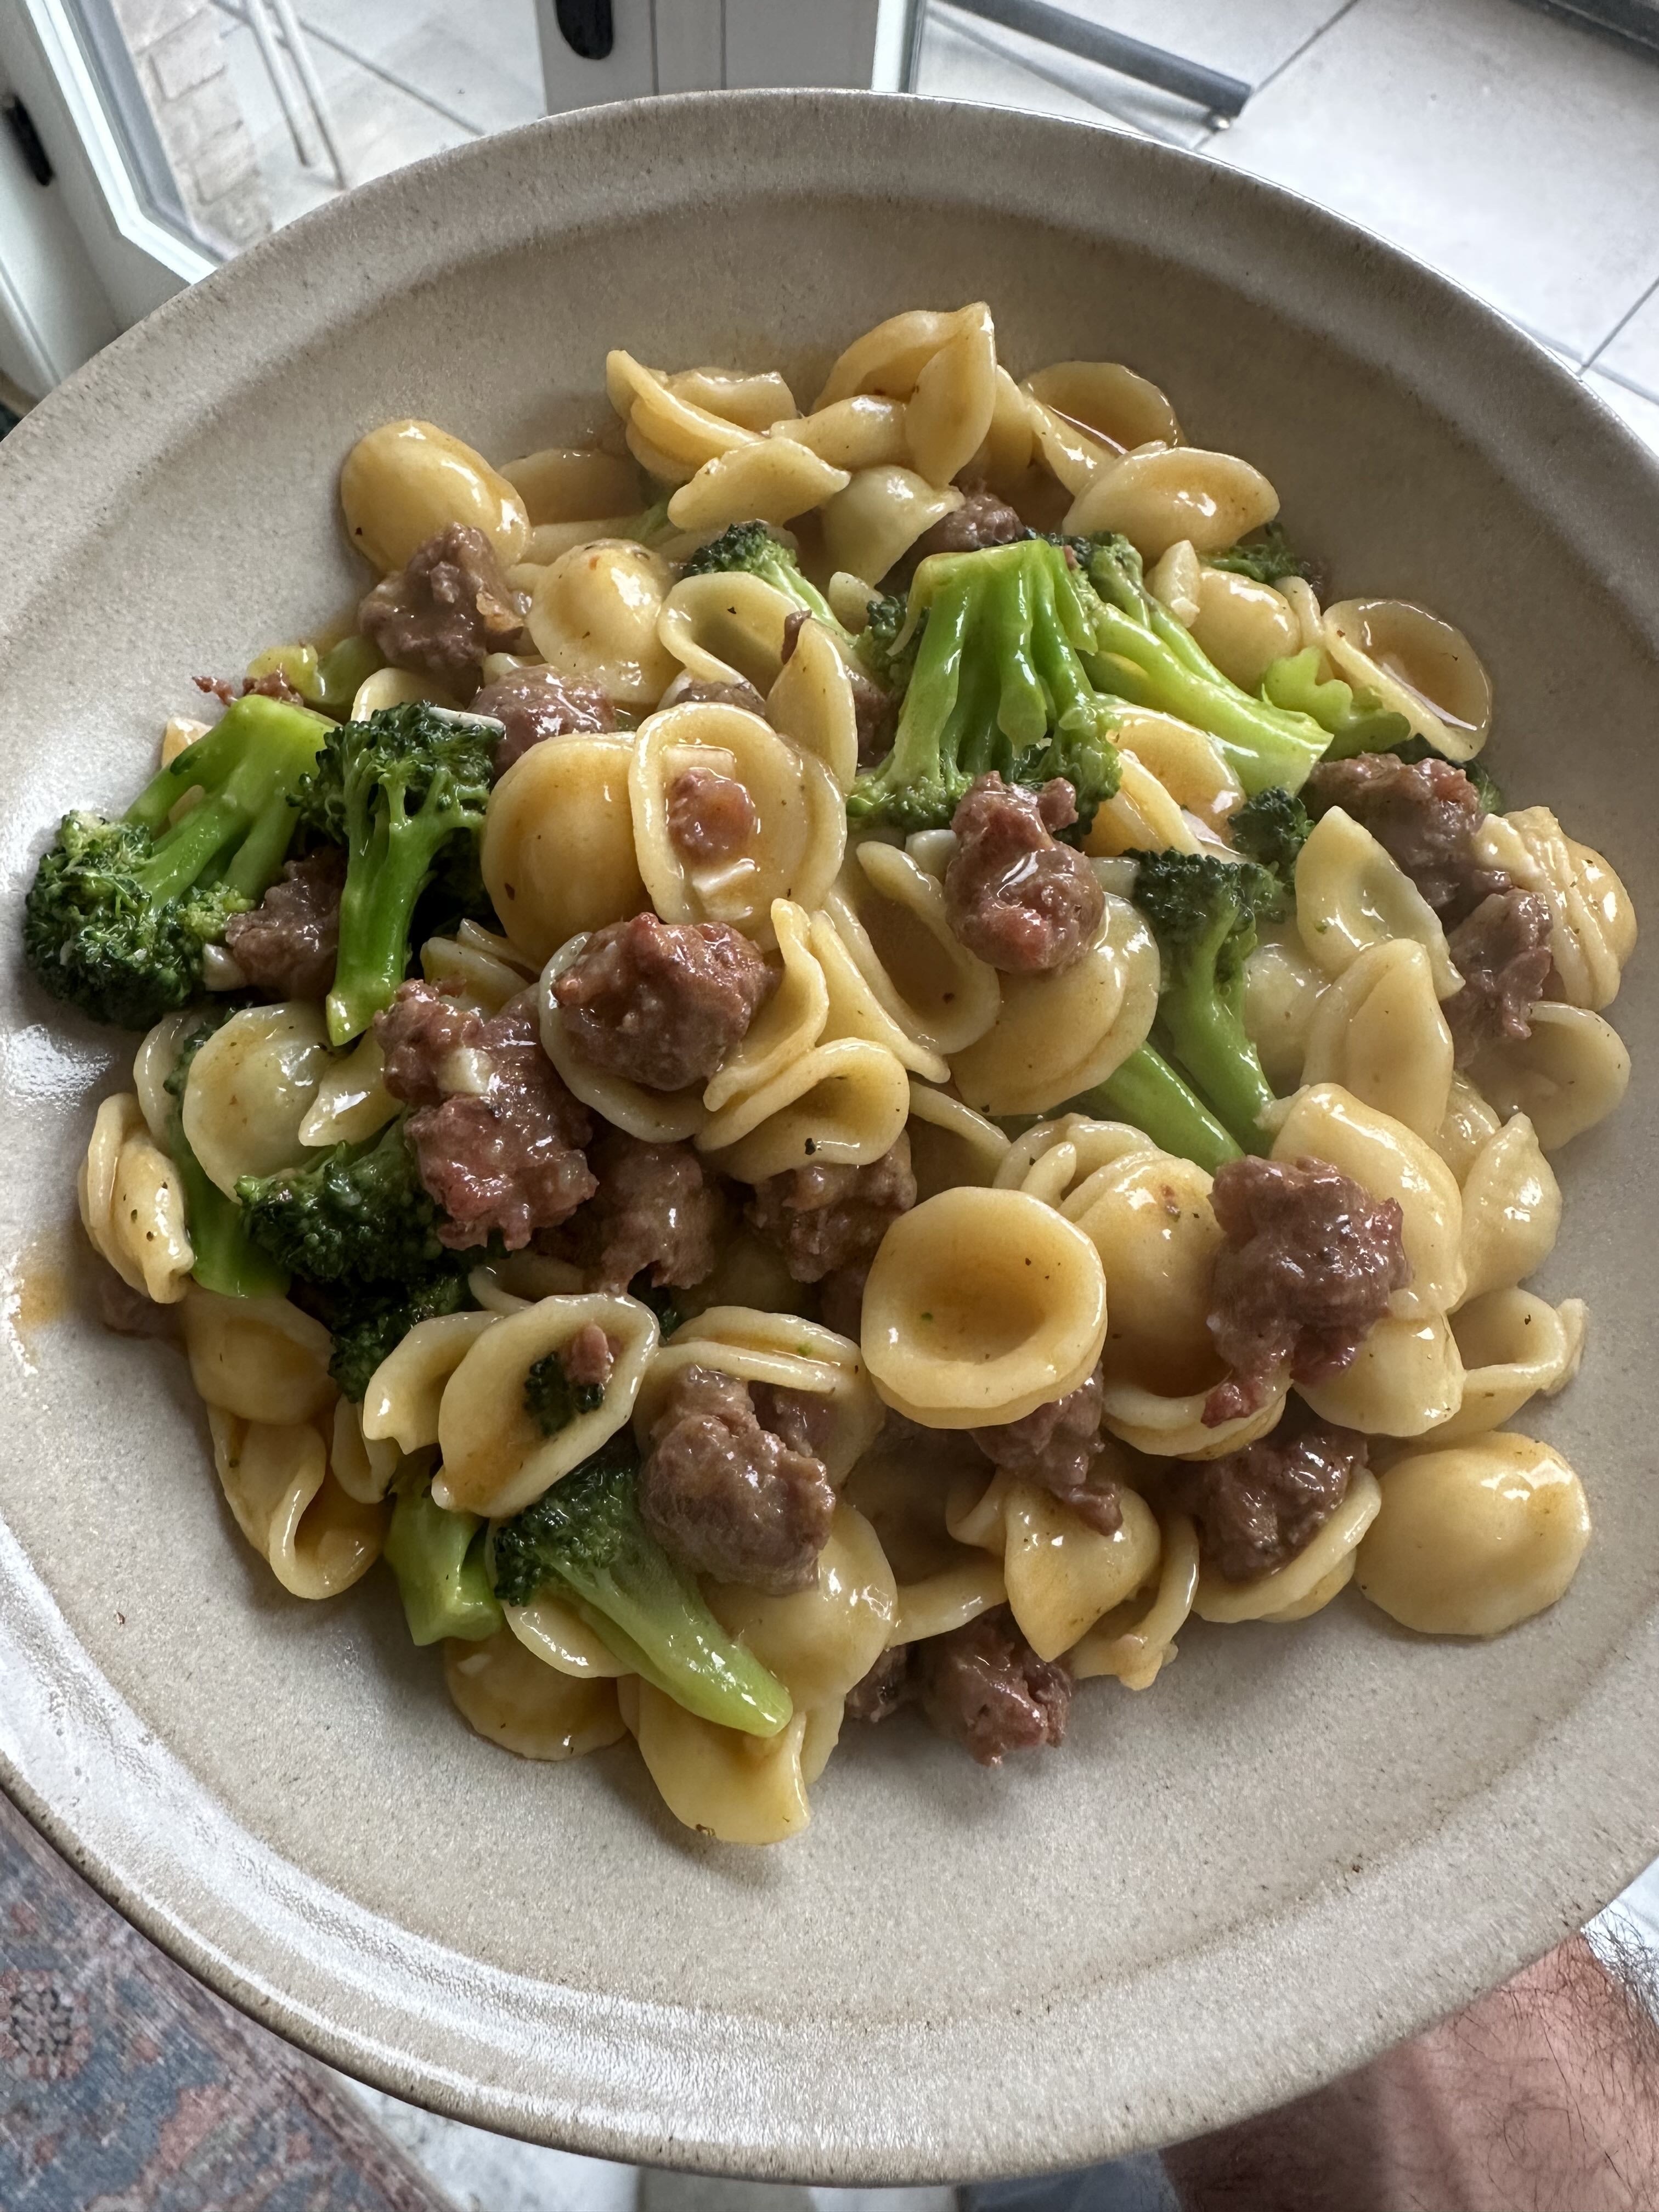
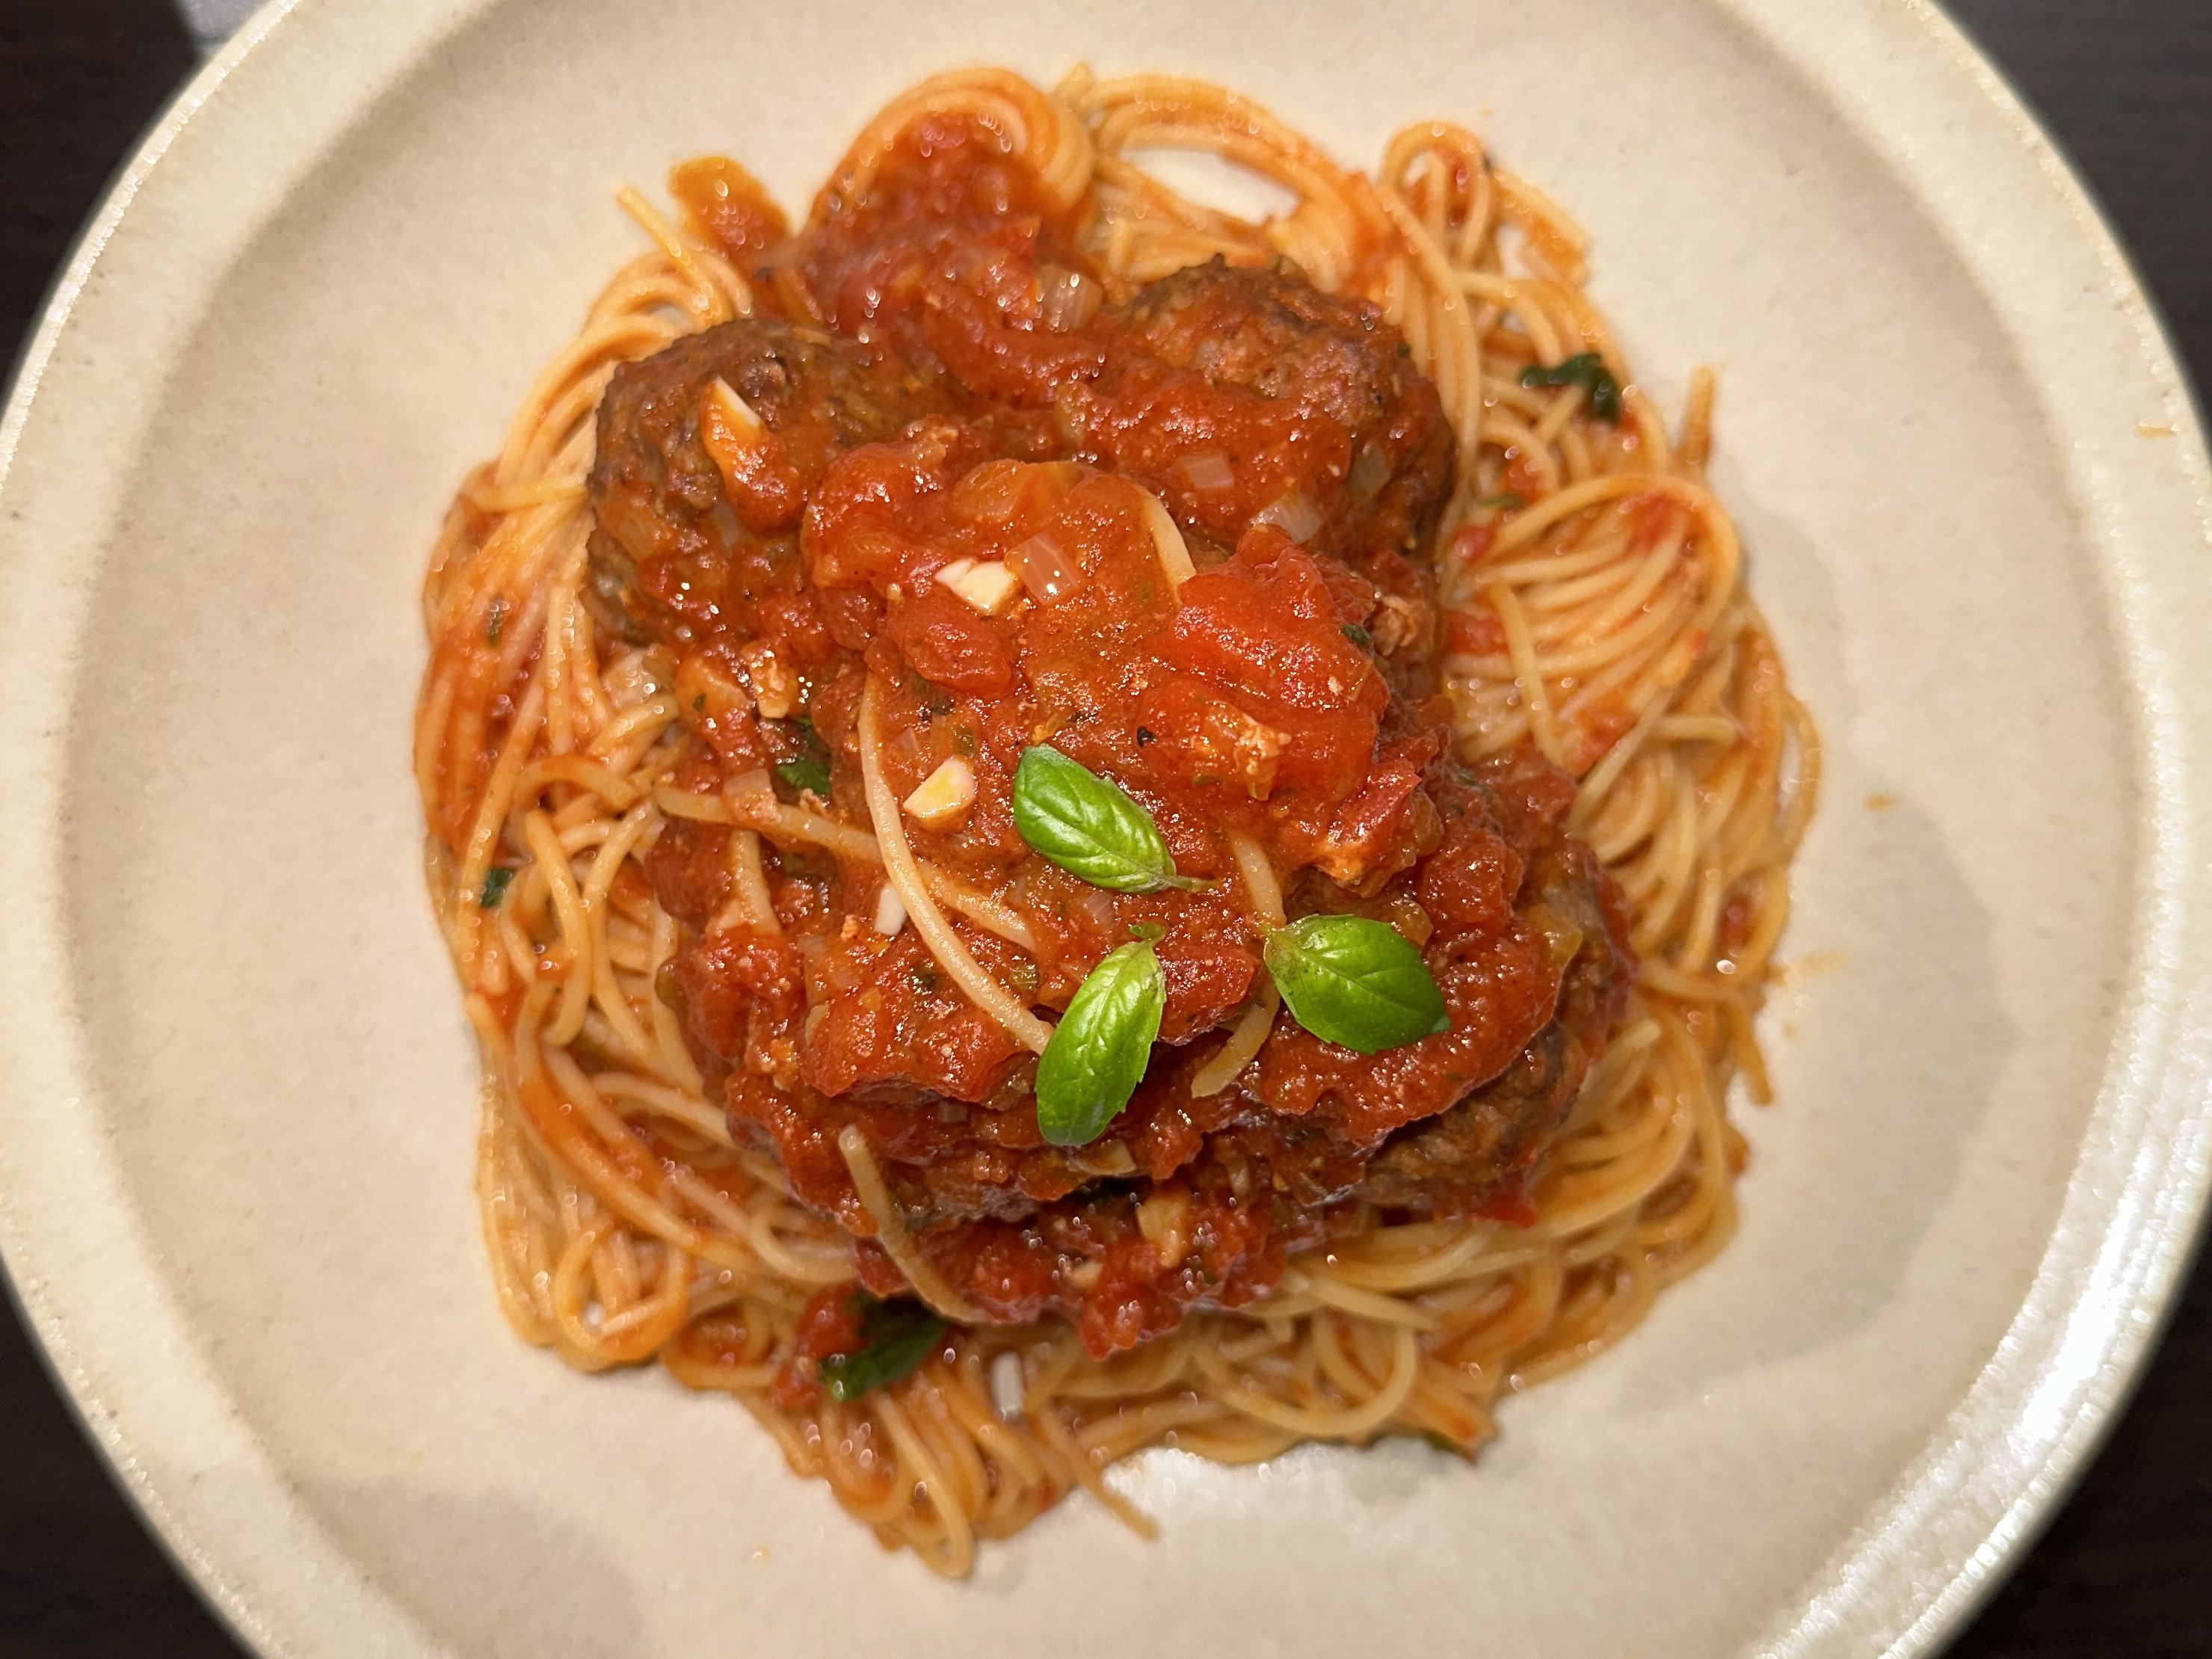
Homemade fettuccine with sausage ragu


Yakir Havin
•
August 10, 2026
This was my first time making fresh pasta, and with the help of my wife, it was a great success! The big question was: is the effort of making fresh worth it? And the answer is, sometimes. I definitely could taste the difference between fresh fettuccine and dried from a box (even good brands), but it did take some time. In saying that, it was our first time using the pasta machine, so naturally it took a bit longer to set up and get the rolling techniques going.
Notwithstanding the effort, this pasta was truly luxurious, with a beautiful chewiness, and the silky tomato and sausage ragu was the perfect complement. Served with a glass of red wine, this dish makes for a perfect Sunday evening.
A couple of notes:
1. We used a food processor for the dough (easier, but many people do it by hand), and a pasta machine for rolling and cutting (more common, but a rolling pin and knife is also possible, just more work and less accurate).
2. For the sauce, we used some leftover garlic and herb confit instead of the normal method described in the recipe below.
3 servings
Ingredients (11)
Ingredients (11)
Fresh pasta
Sausage ragu
Instructions
The flour and egg measurements in the ingredients are based on a 1:1.64 ratio between egg and flour, respectively. Therefore, you should first crack your eggs and weigh them, then multiply by 1.64 to get your flour weight. The 163g of eggs in the recipe was based on the 3 eggs I used, which made 3-4 servings, so scale to your needs.
In a bowl, eat the eggs (163 g) and mix in the olive oil (1 Tbsp).
In a food processor with the S-blade, add the flour (267 g) and a pinch of salt, then set to low speed to combine (3 or 4 out of 10). A lot of pasta recipes use 00 flour which is more finely milled than all-purpose, and there are probably internet wars about this. Since it was my first time, I preferred to use the flour I already had and it came out great. Maybe I'll try 00 flour in the future (and for pizza I've heard the difference is quite significant) but I'm not rushing to the store to buy it specially.
With the food processor still running, stream in the egg mixture and continue mixing for about 30 seconds or until the dough comes together into mostly one piece and starts revolving around the cup.
Tip the dough onto a work surface with a light sprinkle of flour and knead for about 5 minutes or until the dough is smooth and no longer sticky. A small poke should slowly come back.
Cover tightly in glad wrap or a zip lock bag and rest at room temperature for 30-60 minutes while you start on the sauce.
In a pan that will be big enough to add the cooked pasta and mix everything later, sauté sliced garlic (3 cloves) in olive oil (1 Tbsp) over medium heat. I used hot sausage, so no extra spice was required, but add chilli flakes if you so desire.
Pinch the sausage into small chunks and add them into the pan, letting them brown on one side. Most storebought sausage should be seasoned with salt already.
Crumble the sausage into even smaller pieces (chunks won't be as good in the final sauce, and this is where my $6 ground beef chopper shines) and continue letting it brown. Typically, a lot of fat will come out of the sausage, which is why we only used 15 mL of oil to start.
Once some nice roasted colour has developed on the sausage and the bottom of the pan, turn the heat to medium high and deglaze with the wine (100 mL), then let it reduce by half.
Lower the heat back to medium and add the passata (340 g), filling the jar with water to clean it out as well. This extra tomato water gives the sauce headroom to slowly reduce to our desired consistency while we work on the pasta.
Once the sauce starts to bubble a bit, drop in the rosemary (2 sprigs), set the height to low, and cover most of the way with a lid, leaving it cracked so the sauce can slowly reduce.
Start a large pot of salted water boiling so that by the time the pasta is cut, it can go straight in.
By now the pasta will have rested long enough to start working. Cut the dough in two and set aside one half. You will use both, but one at a time so that it fits into the pasta machine.
Flatten the dough into an oval or rounded rectangle with the short end facing you (i.e., portrait orientation). We used a Marcato Atlas 150 machine (one of the most common hand-crank machines — thank you to our dear friends for this wedding gift), so my width settings will be according to that. Set the machine to level 0 and crank the dough through.
Laminate the dough by placing the rectangle with the long end facing you (i.e., landscape), folding the left side to the middle, the right side to the middle (so that both folds are now touching), and then folding the dough in half, before flattening it out again, and turning it back to portrait.
Feed the dough through the 0 setting again a couple times.
Increase the setting to level 1 (higher levels mean thinner pasta sheets on the Atlas 150) and feed the dough through. I didn't follow an exact number of times, rather going by look and feel. You can tell with the hand crank how much "work" the machine is doing, and before increasing a level to flatten the dough, the machine should crank quite easily, indicating that you've reached the desired dough thickness for the level you're on and you can proceed. We ended up putting the dough through each level from 1 through 6 probably three or four times.
If the dough comes out with lots of holes in it (which happened to us a few times), laminate and run it through the same level until it's smooth again.
At level 4, we dusted with an extremely small amount of flour to avoid the dough sticking to the machine (and to itself as it comes out). Whether you need to do the same will depend on lots of factors that are out of my recipe's control, so just monitor how sticky it's feeling. You will need to unravel the dough as it comes out of the machine to avoid it folding onto itself and sticking (which we learned the hard way).
Once the dough has gone successfully through level 6 and is looking nice and smooth, leave it on your counter or hang it on something (we used our island light fixture, see picture 2) to dry while you repeat the above steps with the other half of the dough. This drying process helps prevent the pasta from sticking to itself after you cut it and arrange it in nests before boiling it. Our first half of the dough, which hung while we did our second half, was noticeably less sticky than the second half of the dough, which we only let dry for a few minutes because we were getting impatient by that time (ideally 10-15 minutes would probably have been better, although there wasn't a huge difference in the end result, we just needed to manually separate some of the strands when dropping into the water to boil).
By now, we had two long pasta sheets that had gone through all levels from 0-6. Working one a time with the dough sheet in landscape orientation, fold the sheet in half and cut, then stack the halves, fold in half again, and cut, leaving you with each dough sheet cut into quarters, for a total of eight sections. Depending on how your rolling went, your sheet may be a different size, so another option is to divide whatever length your sheet is into sections that are each roughly the desired length of your fettuccine strands. Don't make too much of a fuss about it though.
Sprinkle a small amount of flour on baking sheets for the pasta nests.
Switch the crank to the pasta cutter attachment on the fettuccine setting and run one of the eight sections through. Collect the strands into a nest and place them on the baking sheet. Repeat for the rest of the dough sections until you have eight pasta nests.
Taste the now somewhat reduced sauce and adjust salt and pepper levels as needed. Remove the rosemary sprigs and thank them for their service before discarding.
Drop the nests into the pot of boiling water and cook for about 2 minutes. Cut the heat but do not drain the pasta. The pasta will finish cooking in the sauce.
With tongs, lift the pasta straight from the pan into the pan with the meat sauce, then mix to combine. Mix thoroughly but not aggressively to fuse the pasta and sauce into a single entity. Adjust consistency with pasta water if needed (and if you're going back for second helpings later like I always do, having a bit of pasta water on hand to re-enliven the mixed pasta and sauce over some heat always helps).
Serve, topping with some nice olive oil and black pepper, and enjoy with a well-earned glass of red wine. You just made fresh pasta! That's a pretty great achievement.
Subscribe to get my new recipes delivered to your inbox
Comments
Sign in to comment